
Blackmagic Atem Mini, what is it?
The Blackmagic Atem Mini is an HDMI switcher and USB video interface. It is capable of live switching between four HDMI inputs, or rather four cameras that can output an HDMI video signal. The Atem Mini supports video signal formats up to 1080p60. It is also capable of interfacing with a computer, via a USB cable, in order to send a video signal to a computer. It uses a USB-C to USB-A cable to connect to a computer. The video signal can then be sent to remote collaborators using a variety of popular video streaming platforms such as Zoom, Skype, or OBS Studio. The Atem Mini is great for theatrical or live music performances, and also video conferencing. This unit is quickly integrates Zoom meetings, and it makes setting up your audio, an often overlooked component to video streaming, very easy. You will want to download the Blackmagic application “Atem Switchers Update” to get started.
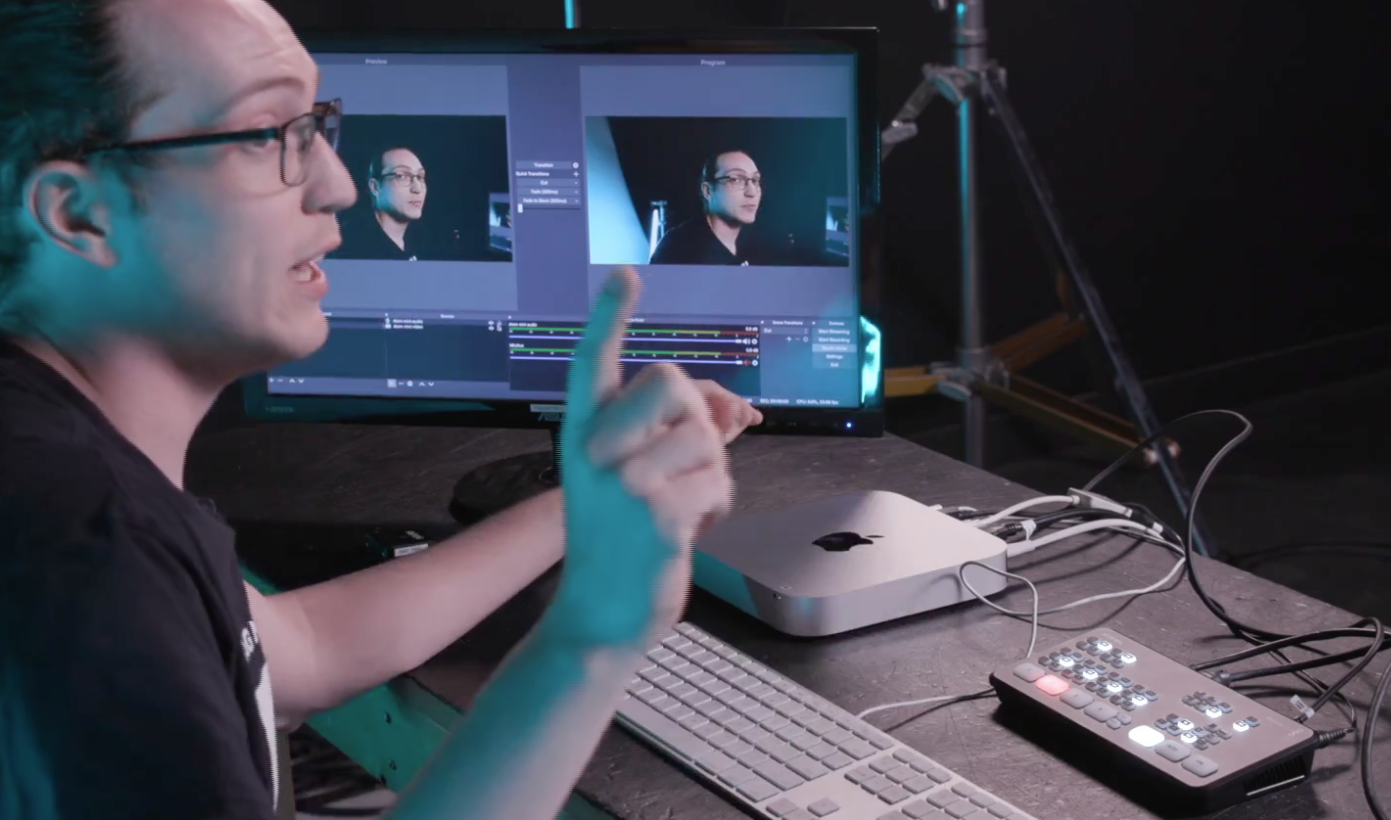
How to Setup the Blackmagic Atem Mini
Follow these steps: (1:37)
- Setup your camera. (in this video we are using our Side-by-Side High-Resolution Photo Rig).
- Connect your cameras to the Atem Mini.
- Connect the Atem Mini to a computer.
- Plug-in the Atem Mini’s power cable, and it will automatically power on. The unit’s buttons will light up.
- Open the OBS Studio application.
- Add a color source by selecting the plus (+) icon in the “Sources” window in the bottom left corner of the app window and select “Color Source”.
- Name your color source whatever you like.
- Add a new scene by selecting the “plus” icon in the “Scenes” window in the bottom left corner of the app window.
- Name the scene “atem mini”.
- Add a new source by selecting the “plus” icon in the “Sources” window and select “Video Capture Device” (Do not select Blackmagic Device).
- Name the new source “atem mini video”.
- In the properties window, that immediately displays, select “Blackmagic Device” in the “Device” drop down, and select “High” in the “Preset” drop down.
- Power on camera(s).
Your audio settings should then be adjusted by following these steps:
- Select the plus icon in the Sources window and select “Audio Input Capture”.
- Name the audio source “atem mini audio”.
- Select the “ON” button, on the Atem Mini, for the HDMI input (camera) you would like to provide audio.
- Select the arrow buttons below the ON button to adjust audio levels.
Note: if you are switching between multiple cameras, and you would like to also switch to the audio for that camera, then select “AFV” above each “ON” button. “AFV” stands for Audio Follows Video.
How to Use OBS Studio with Zoom
You can transfer a video signal from OBS Studio to the streaming platform Zoom, or from Zoom to OBS Studio with the free plug-in application “OBS Virtual Camera”. If you are a PC user, download the free plugin here. If you are a MAC user, here.
OBS Studio > ZOOM (1:43)
- Open OBS Studio.
- Select “Tools” in OBS Studio, and select “Start Virtual Camera”.
- Open Zoom.
- Select “New Meeting”.
- Select the “up arrow” to the right of the camera icon in the bottom left hard corner of the Zoom app window.
- Select video settings.
- In the “Camera” drop down menu of video settings, make sure “OBS Virtual Camera” is selected.
- In the “My Video” section make sure “Enable HD” is selected, and “Mirror My Video” is deselected.
- Select audio settings in Zoom and select your capture device, e.g. Blackmagic Intensity shuttle, in the drop down menu of the “Microphone” section.
ZOOM > OBS Studio (6:16)
- Setup a secondary monitor. Make sure this monitor has a headphone output for audio.
- Set your computer’s display settings to “Dual Display”:
- For MAC, select the Apple icon in the top left hand corner of your browser window.
- Select “System Preferences”.
- Select “Displays”.
- Select “Arrangements”.
- Turn off “Mirror Displays”.
- Drag the Zoom app window to the second monitor.
- Open settings in Zoom, and go to audio settings.
- Select the secondary monitor (that is displaying the Zoom app window) in the “Speaker” section.
- Select “Same as System” in the “Microphone” section.
- Setup a Zoom H6 Recorder to run an audio signal into OBS Studio. Watch our video Live streaming about Streaming Live to learn how to setup the Zoom H6.
- Connect an XLR to 1/8 TRS Cable to an XLR to XLR Cable.
- Connect the 1/8 TRS connector into the headphone output of the secondary monitor, and the XLR connector into the Zoom H6.
- Invite a collaborator thru the Zoom app to test your setup.
- Go to the OBS Studio app and select the plus icon in the “Scenes” window in the bottom left corner and name it “zoom meeting”.)
- In the “Sources” window select the plus icon and select “Display Capture” and name it “second screen”.
- In the “Properties for second screen” window, select “1” in the “Display” drop down.
- In the “Sources” window select the plus icon and select “audio input capture” and name it “H6”.
Setup up a free consultation, or go to magrents.com to build a rental order!
0 Comments