
RED Gemini and EasyRig Vario 5, are they the right run-and-gun solution?
The RED Gemini Digital Cinema camera is yet another great run-and-gun camera solution for a variety of productions. The EasyRig Vario 5 pairs very well with compact camera systems such as the Red Gemini for increased image stabilization, and decreased operator exhaustion. The Red Gemini can record a 5K resolution at 100 frames per second while set to an 8-to-1 (8:1) compression ratio. A compression ratio is a measurement of the amount of compression, or rather, the amount of data actually being captured compared to the amount of data that would be captured with no compression. A 1:1 ratio is uncompressed data, and not an option in the Red Gemini. If an operator increases the compression ratio, then he is increasing the compression, or rather, decreasing the amount of data being captured. According to the founder of RED, Jim Jannard, a compression ratio below 5:1 is almost impossible to see, and a 5:1 ratio is the “sweet spot”; however, if you are not shooting a great deal of detail or motion, then you may not need even that low a compression ratio. It depends upon what you’re doing, and what you want to see. It is important to note, that when you lower your compression ratio, thus increasing the amount of data being captured, you will lose certain resolution and frame rate options. You must consider your application, and determine what it needs most: resolution, high-speed frame rates for slow-mo, or more captured data for greater detail. The Red Gemini’s dual-native ISO sensitivity option, however, will not be lost, even at a 2:1 compression ratio. The Gemini can be set to a low-light mode, and record at a recommended native ISO of 3200, at any compression ratio, resolution, or frame rate. This mode decreases noise in low-light environments, and improves detail in shadows. So if you’re running around, and the light shifts dark on you, RED gives you enough tools in this camera to look into that darkness. You may need some image stabilization though, and that’s where the EasyRig Vario 5 comes in. A few additional accessories will stabilize your venture into the darkness.
What Gear Are We Using?
- Red Gemini 5K S35 Body Kit
- Red DSMC2 Side Handle
- Canon CN-E 35mm T/1.5 Cinema Prime Lens
- Arri Hand Grip Kit
- Red Universal Quick Release System
- (2) 6″ 15mm rods
- Arri MFF-2 Cine Follow Focus
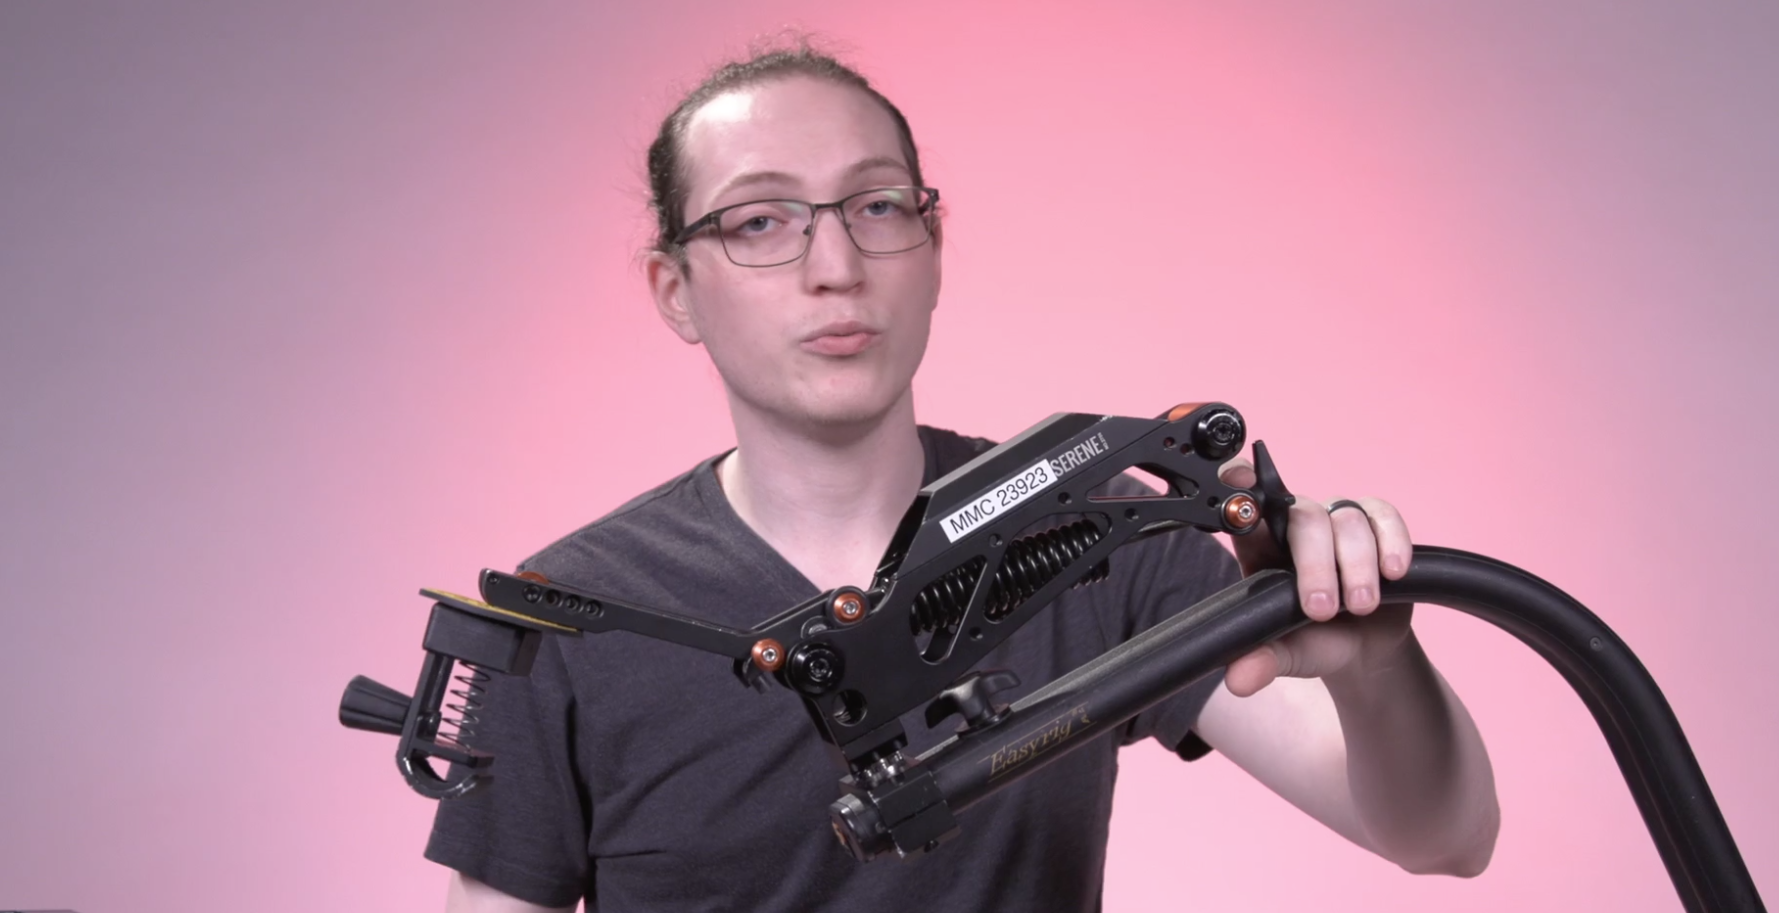
- EasyRig Vario 5 with Flowcine Serene Arm Kit
- Sachtler V20 S1 Tripod Kit
The Canon CN-E 35mm prime lens isn’t too wide, and it isn’t long for the run-and-gunner. The lens has a close focus of 12″, so if your subject get’s too close for comfort, and can may still be able to maintain focus, provided you keep one hand on the Arri follow focus for manual adjustments. Your other hand will be gripping the Red Side Handle which will allow you to control record start/stop, as well as navigating and selecting menu options. The pistol grip design of the handle will be appreciated by any shootist. The quick release system provides a 15mm rod clamp for securing rods to support a follow focus, and also includes two dovetails for quick back-and-forth setups from tripod, back to the EasyRig. The EasyRig can support up to 38lbs, and its setup is, well… easy. Its super-easy.
How Do We Build the Red Gemini? (8:55)
- Remove the side plate on the Gemini body.
- Attach the RED Side Handle to the side of the Gemini body.
- Attach the RED mounting plate to the bottom of the camera. (12:18)
- Attach the tripod’s quick release plate to one of the RED dovetail plates. (We include two.)
- Attach the other dovetail plate to the tripod’s fluid head.
- Insert the 15mm rods into 15mm rod clamp.
- Mount the lens to the camera, and lock the mount.
- Attach the Arri Handgrip Bridge Support to the 15mm rods. (18:29)
- Attach the RED touchscreen monitor to the top of the camera.
- Attach the RED top handle to the top of the camera.
- Attach a RED Brick battery to the top of the camera.
- Slide the camera onto the dovetail plate mounted to the tripod and lock it!
- Mount the follow focus to the 15mm rods.
- Attach the Arri extension and hand grip to the Arri bridge support.
How Do We Connect the EasyRig to the Cam? (22:48)
- Mount the EasyRig to your back.
- Tighten the hip straps as tight as possible to mitigate unwanted camera movement from the EasyRig.
- Tighten the chest straps.
- Position yourself behind the camera and tripod before attaching the EasyRig clamp to camera’s top handle.
- Hook the EasyRig clamp underneath the camera top handle. (24:41)
- Holding the side handle, unlock and release the camera from the tripod.
- Observe the amount of tension in the EasyRig line.
- If you have an AC, then they can adjust tension settings on the back of the EasyRig. If not, secure the camera, detach the EasyRig, remove it, and make your own adjustments.
- Adjust the tension line on the EasyRig by using the integrated allen key on the back of the EasyRig. (26:50)
- Adjust the tension of the spring in the serene arm as needed.
Setup up a free consultation, or go to magrents.com to build a rental order!
0 Comments