Movi Pro Red Camera Build: The Prep Day
An advanced Movi Pro build with a Red Camera intended for a car rig takes time to build and test. This additional time requires a prep day. A prep day is a day before your first production day dedicated to building and testing your production’s gear. This particular Movi Pro build requires a prep day due to the sheer number of variables involved. The variables are accessories mounted either directly to the camera or to the gimbal stabilizer. Additional accessories require additional mounting solutions, additional power solutions, and additional cable management. These additions add complexity, and complexity adds time. The added time requires a day to prepare the equipment, troubleshoot equipment, and replace equipment, or alter the production schedule to accommodate your solutions. A complete Movi Pro build may take 2 to 3 hours; however, additional troubleshooting, and problem solving could take an entire day. If your production requires a Movi Pro then schedule a prep day. If it also requires a Red camera, and additional accessories, then schedule several hours on your prep day. Fortunately for you, we have a lot of space at our rental location so that you can prep your entire build in our shop, and ask our technicians questions, or for additional accessories to complete your build. If you prefer privacy, we also have a sound treated studio space called Studio One that you can schedule to prep in peace.
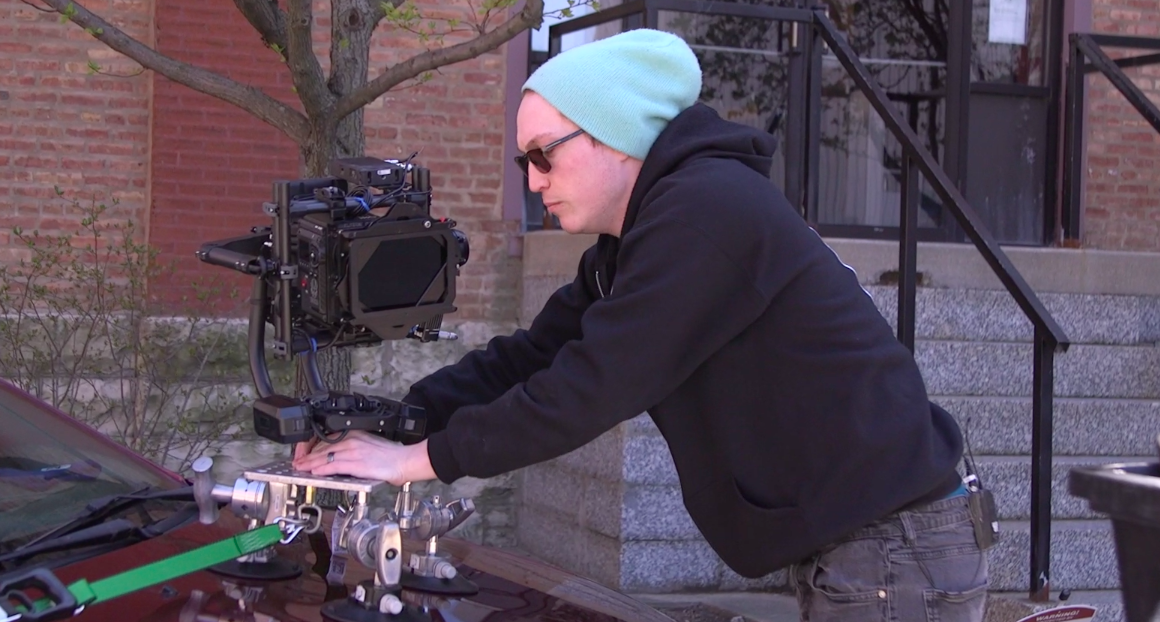
In this video we will be focused on prepping the Movi Pro with a Red Camera and all of its accessories. In another video and blog post, we will focus on prepping a car with a mounting system which our Movi Pro build will then secure to. Below the video is breakdown of all the equipment used, why we chose those items, and also a breakdown of the step-by-step process on how to build this setup. Many of the steps are timestamped and linked to specific points in the video.

What Accessories are Used in this Build and Why?
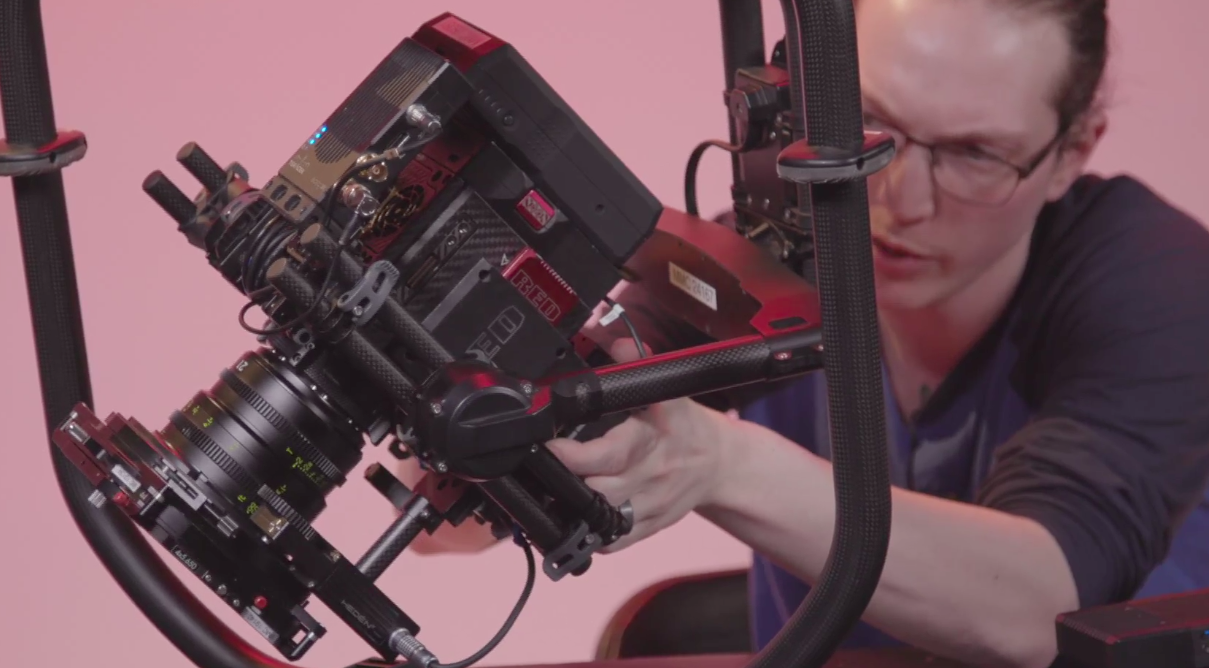
The camera being used with the Movi Pro Motion Stabilizer Kit is a Red Weapon 8K Digital Cinema Camera. The advantage of using the Red Weapon is primarily two fold. The camera’s 8K resolution is perfect for correcting composition in post production. The resolution of the video’s final delivery will most likely be at least half of the captured video. This resolution difference will allow one to reframe the composition as needed. When shooting a subject that is in motion, from a car that is also in motion, reframing your image will almost certainly be needed. Considering the motion stabilizer has 3 axis motors that also move, and are controlled by an operator, the need to reframe sections of your final edit are almost guaranteed. The Red Weapon can also be controlled by the Movi Pro Kit’s Mimic Control Unit. The Mimic Control Unit is a handheld device that controls the pan, tilt, and roll movements of the Movi Pro. The camera connects to the Movi Pro with the Movi Pro/Red RCP Serial Cable. This cable will allow the Mimic operator to control camera record start/stop, frame rate, ISO value, shutter spreed, color temperature, compression ratio, and focus and aperture of EF lenses with the Mimic Control Unit.
Our build won’t need the focus and aperture control because we are using a Leica Summicron T2.0 21mm Lens. This lens is classified as “color neutral” which will optimize the information being captured with the 8K resolution for color grading in post production. This lens requires a focus control solution. We are using a Movi Pro Bush Pilot FIZ Control Kit with a Heden M26VE Motor to control focus. This kit also integrates with the Movi Pro so that focus can be wirelessly controlled by the Mimic operator. In order for the Mimic operator to see what he is doing we are using a Teradek Bolt Pro 500 3G-SDI/HDMI Kit, and SmallHD 702 Bright Monitor. We run power to the camera and other accessories with a Core SWX 98wH Slim V-Mount Battery. The battery will mount directly to the back of the camera. We are using it because it is slim, and will ensure the Movi Pro’s full tilt range of motion. Other batteries, such as Red Bricks, are not recommended because they tend to be larger, and will interfere with the Movi Pro’s range of motion.
We are also using an Arri MMB-1 Mattebox with a Tiffen 4×5.65 White Water Circular Polarizer to reduce or eliminate glare on a windshield if we decide to shoot into a car. This mattebox is great because it can be easily stripped down to only its filter tray assembly. This greatly reduces our front end weight, and makes it easier to balance the camera build on the Movi Pro. The Arri MMB-1 Mattebox also has a rotable filter tray which will allow you to dial the exact position you need to manage glare with the polarizer. We can also lock this position in place. Lastly, with the proper reduction ring, the filter tray assembly will clip onto the Leica Summicron. This eliminates the need to run additional 15mm rods to mount the mattebox which reduce are overall weight and our front heaviness for balancing.
Lastly, and whenever possible, we are using an SDI Hyperthin Right Angle BNC Cable to connect the Teradek Bolt Pro 500 TX to the Red I/O Base Expander’s SDI output. Hyperthin cables are easier to manage, and do not add much additional weight; therefore, they make it easier to fine tune the final balance. The right angle BNC connector on the cable also makes the cable more compact and prevents it from interfering with the Movi’s range of motion.
What accessories are attached to the Mimic Controller?
The SmallHD 702 Bright Monitor will be mounted to the Mimic controller’s carbon fiber cross bar so the Mimic operator can see what he’s doing. We are also using an Anton Bauer Gold Mount Battery Adapter with a Digital 90 Gold Mount Battery to power the monitor and the Teradek Bolt Pro 500 RX. The battery adapter includes a Redrock Micro Cheeseplate which is used to connect it to the carbon fiber cross bar. A Pop N Lock 30mm Clamp Lock is attached to the battery adapter’s cheeseplate and the carbon fiber cross bar. We then use an articulating arm to attach the Teradek Bolt Pro 500 RX to the cheeseplate. Lastly, the Bush Pilot’s focus wheel is attached to Mimic Control Unit for the operator to control focus. The Mimic operator has everything he needs to control the Movi Pro, the Red Camera, and focus.
We recommend having a roll of black gaff tape and some twist ties to manage and secure the variety of cables you will need to power devices and connect your video signal.
How We Build the Movi Pro with a Red Camera?
Mike breaks down the most efficient process for constructing this camera build. I have time stamped particular steps for quick access in the video.
- Attach the Red Touchscreen Monitor, and set your camera settings (00:10:37):
- Set your RCP Protocol: Go to Settings > Setup > Communication > Serial > Redline Command Protocol (RCP)
- Set your Codec: Go to Recording > Codec > Record File Format > Select “R3D + Apple ProRes”.
- Set your ProRes Proxy: Select “2K” and “Apple ProRes 422 LT”.
- Adjust any other settings that cannot be adjusted by the Movi Pro control unit
- Power the camera off.
- Remove the touchscreen monitor
- Attach the bottom baseplate to the camera with the rod clamps pointing up (00:17:50).
- Remove the foot from the top plate, and store it and its screws in a bag in the Movi Pro case.
- Attach the top plate to the top of the camera. Offset it from the center of the camera top for balance, and sticking out as far as the bottom plate (00:19:06).
- Attach the lens to the camera.
- Mount the camera to the bottom of the Movi Pro cage and lock it down (00:22:05).
- Secure the top plate to the top rods of the Movi Pro cage (00:22:46).
- Roughly balance this camera on the Movi Pro (00:23:39).
- Insert a Red Mag into the camera.
- Add the Core SWX 98wH Slim V-Mount Battery to the camera.
- Attach a carbon fiber rod to the bottom plate’s rod clamp, and the Heden M26VE Motor to the rod (00:27:59).
- Roughly rebalance the camera setup with the new accessories attached (00:29:15).
- Add the Pop N Lock mount to the top carbon fiber rod of the Movi Pro cage for the Teradek Bolt 500 TX (00:31:53).
- Mount the Teradek Bolt 500 TX to the Pop N Lock Clamp.
- Roughly rebalance again if necessary.
- Remove the front shade and rod clamp from the Arri MMB-1 mattebox filter tray assembly (00:34:33).
- Confirm the front of the polarizer before securing it in the filter tray (00:40:37).
- Add the filter to the filter tray assembly.
- Remove the lens cap and clamp the filter tray assembly to the front of the lens (00:41:26).
- Roughly rebalance the camera setup.
- Connect all of your cables (00:45:32):
-
- Connect the SDI Hyperthin Right Angle BNC Cable to the camera’s SDI output and the Teradek Bolt 500 TX’s SDI input.
- Connect the 2pin LEMO P-tap cable to the Teradek Bolt 500 TX and the P-tap output on the Red I/O Base Expander.
- Connect the Movi Pro Lens Motor Cable to the Heden M26VE Motor and the FIZ port on the Movi Pro baseplate.
- Connect the RCP Serial Cable to the Red I/O Base Expander and the Cam Port on the Movi Pro baseplate.
- Secure the cables with gaff tape and twist ties as needed.
- Fine tune the balance of the camera setup as perfect as possible (00:53:47).
- Mount the Movi Pro Batteries to the Movi Pro (00:55:15).
- Pan balance the Movi Pro (00:55:33).
- Double check the full balance.
- Setup the Mimic Controller (00:57:36).
- Attach the Bush Pilot Kit’s focus wheel to the Mimic Control Unit (00:58:53).
- Prep the monitor for mounting it to the Mimic (01:02:28).
- Mount the Teradek Bolt Pro 500 RX to the cheeseplate of the Anton Bauer battery adapter cheeseplate with an articulating arm (01:07:58).
- Attach the Digital 90 Gold Mount Battery to the battery adapter.
- Attach the 702 monitor to the Mimic cross bar.
- Connect the cables for the Mimic controller (01:10:52)
- Connect the Anton Bauer Multi PowerTap to the gold mount battery’s P-tap output.
- Connect the 2pin LEMO P-tap Cable for the Teradek Bolt 500 RX and the Anton Bauer Multi PowerTap.
- Connect the 2pin LEMO P-tap Cable for SmallHD 702 Monitor and the Anton Bauer Multi PowerTap.
- Connect an SDI Cable to the Teradek Bolt 500 RX’s SDI output and the SmallHD 702 Monitor’s SDI input.
- Secure the cables with gaff and twist ties as needed.
- Double check the full balance.
- Power on the Movi Pro.
- Auto Tune Stabilize the Movi Pro (01:16:37).
- Mike troubleshoots the Auto Tuning (01:17:55).
- Power on the camera, Teradek TX, Mimic, Teradek RX, and SmallHD Monitor (01:20:21).
- Confirm the wireless video signal is received in the SmallHD monitor.
- Setup the Bush Pilot (01:21:31).
- Mike troubleshoots the Bush Pilot connection (01:25:22). Mike changes the frequency the Movi Pro and Bush Pilot were using to communicate and this solved the problem. This is why we have prep days!
- Select the mode switch setting “Mimic” in the Mimic Control Unit. (01:26:42).
- Adjust camera settings with the Mimic Control Unit (01:27:42).
You can learn how we secure this setup to our car rig in our blog post Movi Pro Car Rig Build Step-by-Step! Movi Pro Car Rig Build Step-by-StepWatch part 2 of our Movi Pro Car Rig build. In this video we review how to construct our Matthews Car Mount System to mount and secure a Movi Pro. We also include a step-by-step build process in the blog post.
Want to hire a Movi Operator? Visit our partners at Perfect Circle.
-
0 Comments